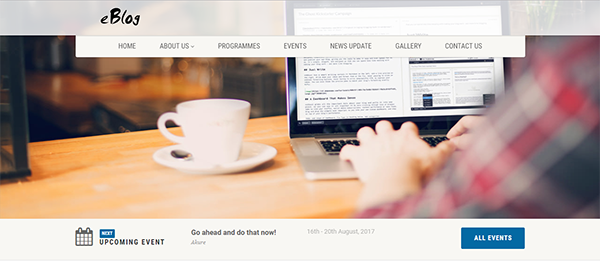
 Blog in Php with source code
features
- Admin Panel
- News update
- Gallery
- Post News, Blogs
- Add Excos
- Create New Events
- Insert Photos into the gallery, slider
- Edit Welcome Message, About, and Programmes page
- Edit Site Settings
- Add, Delete, View Admins
- Admin Panel
- News update
- Gallery
- Post News, Blogs
- Add Excos
- Create New Events
- Insert Photos into the gallery, slider
- Edit Welcome Message, About, and Programmes page
- Edit Site Settings
- Add, Delete, View Admins
How To Run??
After Starting Apache and MySQL in XAMPP, follow the following steps
1st Step: Extract file
2nd Step: Copy main project folder
3rd Step: Paste in xampp/htdocs/
Now Connecting Database
4th Step: Open browser and go to URL “http://localhost/phpmyadmin/”
5th Step: Then, click on databases tab
6th Step: Create database naming “native” and then click on import tab
7th Step: Click on browse file and select “native.sql” file which is inside “database” folder
8th Step: Click on go.
After Creating Database,
9th Step: Open a browser and go to URL “http://localhost/native/”
For Admin Panel
Final Step: Go To URL “http://localhost/native/admin/”
Download
After Starting Apache and MySQL in XAMPP, follow the following steps
1st Step: Extract file
2nd Step: Copy main project folder
3rd Step: Paste in xampp/htdocs/
2nd Step: Copy main project folder
3rd Step: Paste in xampp/htdocs/
Now Connecting Database
4th Step: Open browser and go to URL “http://localhost/phpmyadmin/”
5th Step: Then, click on databases tab
6th Step: Create database naming “native” and then click on import tab
7th Step: Click on browse file and select “native.sql” file which is inside “database” folder
8th Step: Click on go.
5th Step: Then, click on databases tab
6th Step: Create database naming “native” and then click on import tab
7th Step: Click on browse file and select “native.sql” file which is inside “database” folder
8th Step: Click on go.
After Creating Database,
9th Step: Open a browser and go to URL “http://localhost/native/”
For Admin Panel
Final Step: Go To URL “http://localhost/native/admin/”
For Admin Panel
Final Step: Go To URL “http://localhost/native/admin/”
Comments
Post a Comment